My ‘HC Warm Soft SATOBI’ Profile
Pwntax (hehe) just released a new update for the Pentax K-1 which includes the new SATOBI profile. I have reviewed this custom image profile before (have a browse for it on my main Blog page).
I’m a fan. I welcome any new custom image profile that strays from the norm and offers some colour and tonality shifts that inspire creativity. I particularly like the versatility of this profile as it can take on quite a few different looks (especially with different deliberate WB shift choices). I look forward to exploring more.
Yesterday I wanted to test out a new ‘brolly system’ (a contraption I am working on for shooting outdoors in the rain using an umbrella fixed to a monopod, so that I can shoot with older vintage glass that is not weather sealed without anxiety in the rain!). And well… it’s very wet here currently and it seemed like a good excuse to take SATOBI out for a walk around the block and a quick jaunt down to my local national park (as far as I could go as much is currently closed due to the floods/rain) and test my brolly system :)
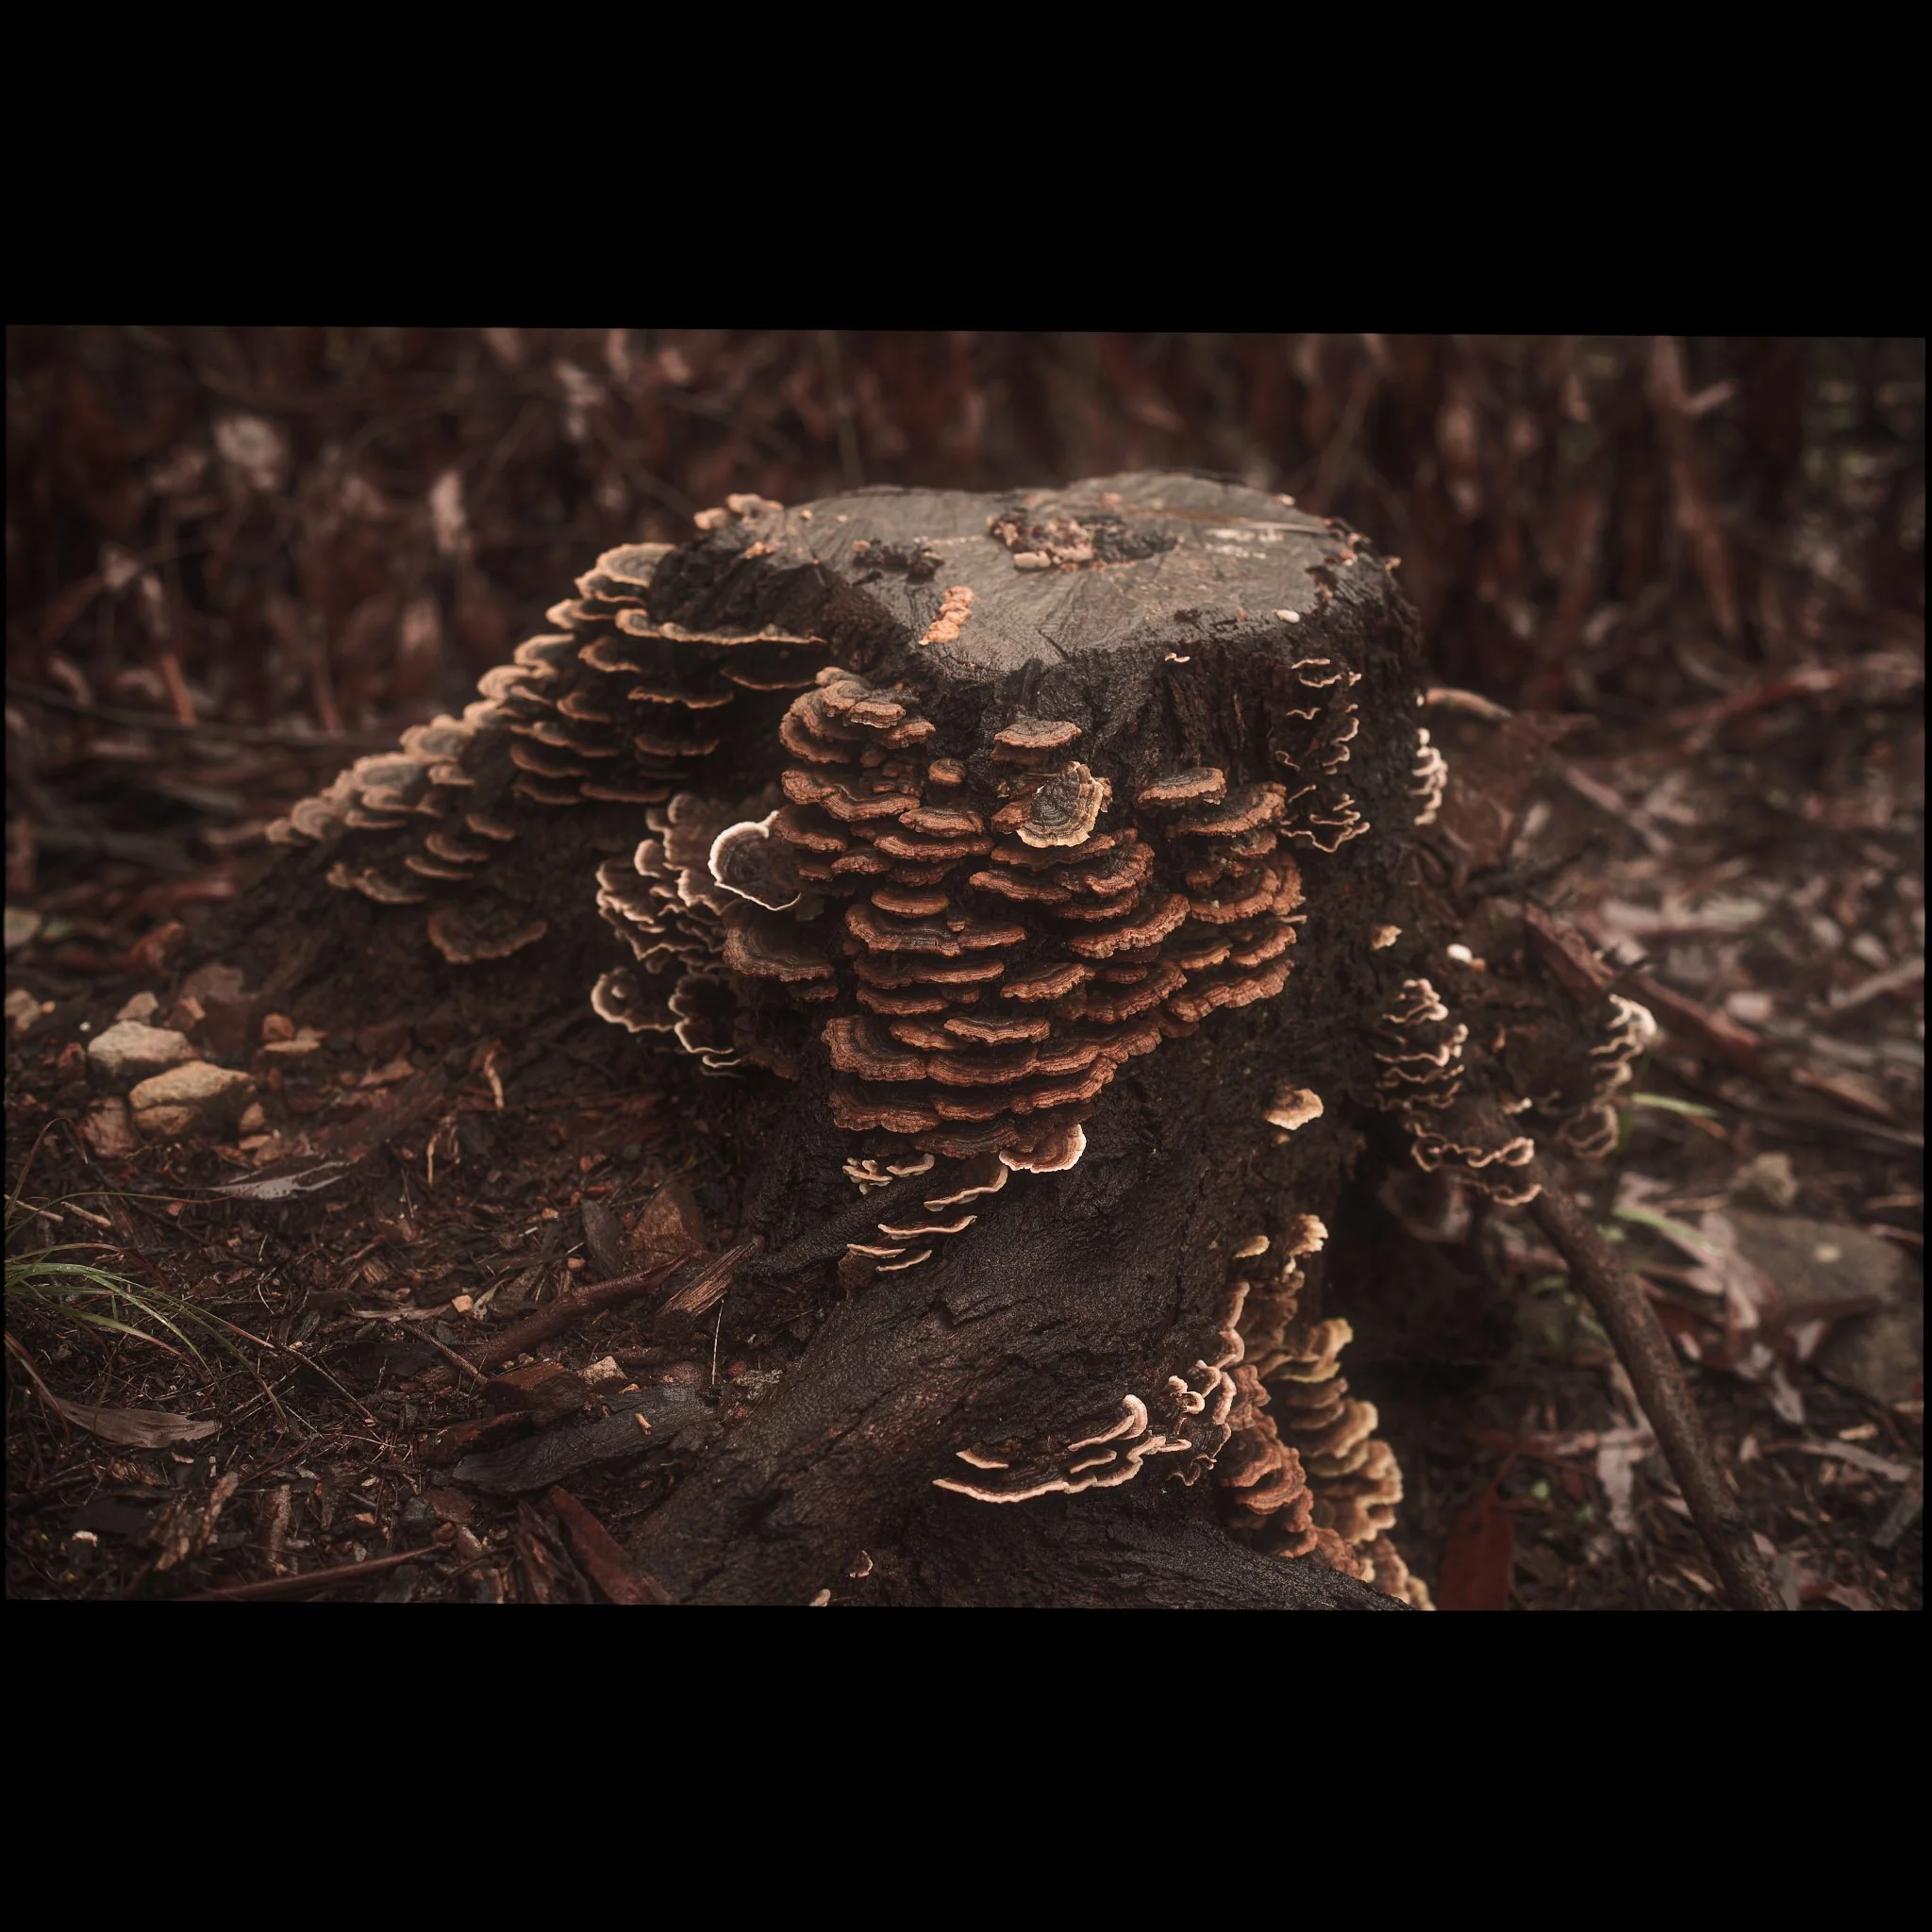
I call this particular variant of SATOBI ‘HC Warm Soft SATOBI’ (HC standing for High Contrast). Specific details of the settings used are shared below. Please be aware that using such settings out with similar light settings that I used at the time could result in radically different results. My light setting was natural light, cloudy, overcast, wet dreary weather. I could imagine this working quite well in foggy conditions too.
Here are the settings used. Remember, these tended to suit a wet miserable day, adjust the WB if anything to something more of your liking (especially if the weather or different lighting calls for it).
White Balance, Shade; A2
Custom Image Profile, SATOBI; -2 -1 -4 +4 -1
Clarity; -4
Of course I still like to take these images into an editor or digital asset manager like Lightroom and further polish the result. It’s mainly the basic sliders being adjusted and tweaked with the intention to amplify the original message, not replace with something drastically new. Below are a couple of screen grabs to demonstrate the overall shift from Before to After. Total editing time for these 10-11 shots would be completed in around 3-5mins.
And that’s it. See how you go, I’d love to hear from anyone else creating new and interesting in camera profiles. Lemme know in the comments below if you have any questions or found this helpful.
Thanks.


